One thing you might not think about if you own a lifted Jeep is how to go about jacking it. With all that extra ground clearance, it might not seem like something that would ever be necessary. But if you end up needing to change a tire or do anything else under your vehicle, you’ll still likely need and want to jack it up safely so that you have plenty of space underneath to take care of whatever it is you’re doing down there. So, if you’ve found yourself in such a situation and need to figure out how to jack a lifted Jeep, keep reading as we’re going to give you the rundown.
What do I need to jack up my lifted Jeep?
Let’s start by giving you the rundown on the different pieces of equipment you’ll need in order to jack up your vehicle. First and foremost, you’re going to want a hydraulic floor jack that has a lifting capacity equal to or greater than the total weight of your lifted Jeep. Keep in mind if you’ve customized your Jeep its weight will no longer be equal to whatever its curb weight was when you purchased it, so make sure to take all aftermarket parts and deletions into account.
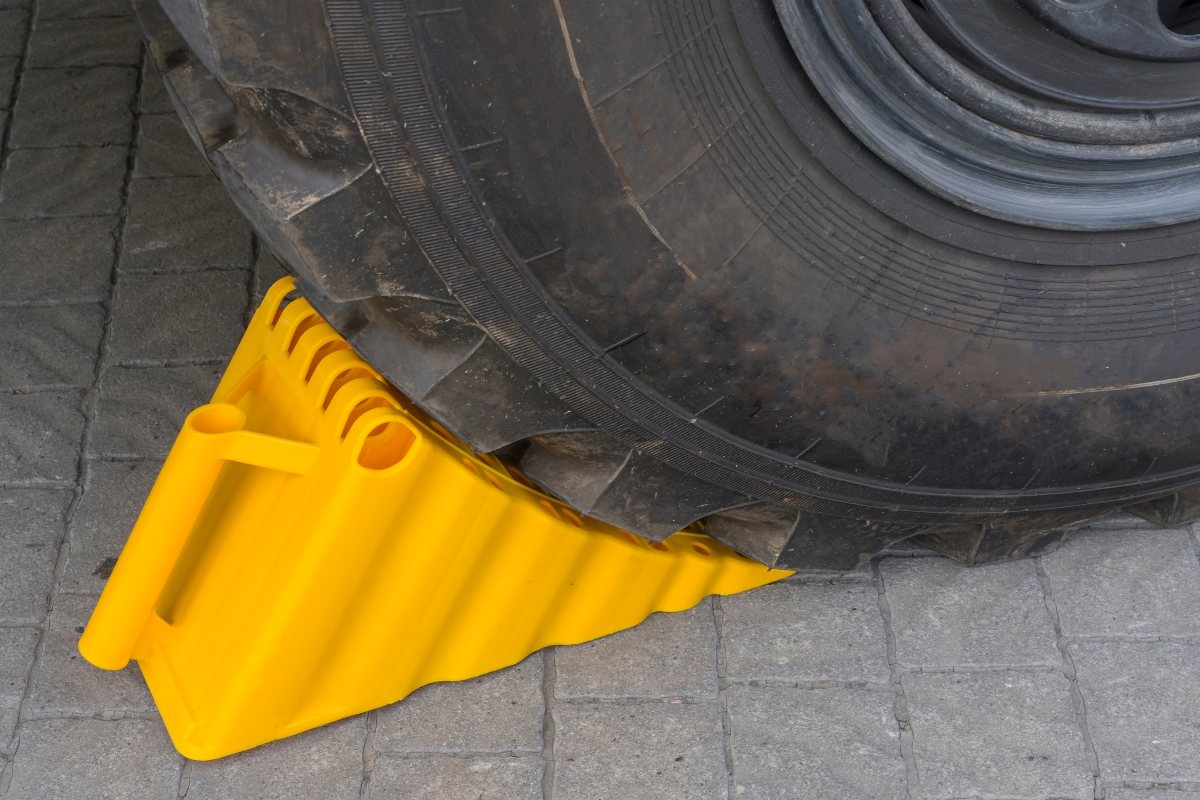
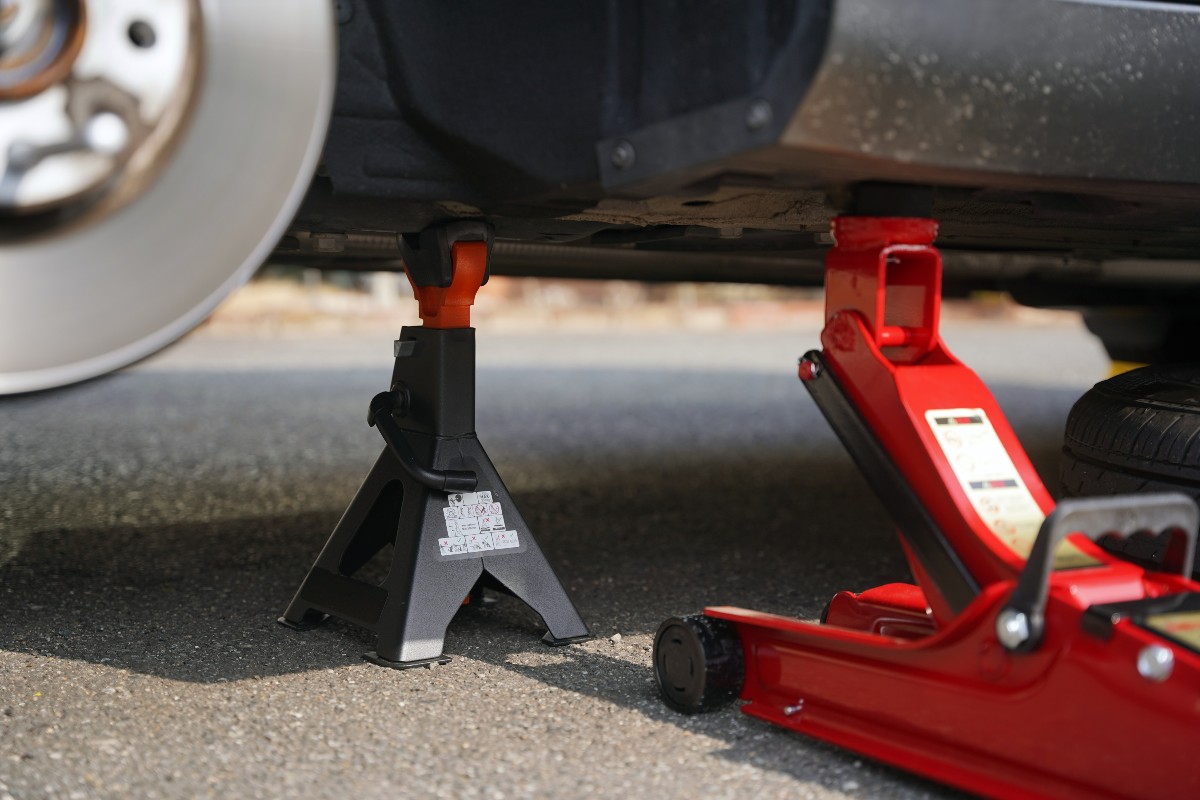
In addition to the jack itself, you’ll want some jack stands and wheel chocks to help ensure your safety and the safety of anyone else around the vehicle while it’s jacked up. Jack stands are placed under the vehicle once it’s lifted to help it maintain whatever height you’ve jacked it up to, while wheel chocks can be placed around your wheels to prevent the vehicle from rolling while you’re under it. Finally you’ll want whatever tools you need for the project at hand, such as a lug wrench if you’re changing your tires, as well as some safety gear like gloves and eye protection.

Step-by-Step Hydraulic Jack Guide
Now that you’ve got your hydraulic jack and all of the other equipment you need for your project, it’s time to give you the step-by-step rundown on how to jack up your lifted Jeep. The very first step, and one that can often be overlooked, is to park on a flat, stable surface to help mitigate any issues from arising throughout the process. If your driveway is slanted, that’s not an ideal spot to jack your vehicle up, so pull out and park on the side of the road or go find somewhere else with a level surface on which to park. Once you’re parked, go ahead and chock the wheels to keep them in place.
Now that you’ve gotten your vehicle situated and in order, it’s time to start the actual jacking process. The next step is to locate the proper mounting point for jacking your vehicle. This point is going to be the axle tube under either the front or back axle, whichever is closest to the flat tire you’re changing or the area in which you need to work. In the event that your lifted Jeep is already too high for the jack to reach this axle tube, you still need to use this mounting point, so find some sort of prop – such as a block of wood – to place under the jack so that it’s tall enough to mount under the proper point.
Check your owner’s manual for specific diagrams and instructions of where to place the jack so that you can do things properly. Once you find your mounting point, place the hydraulic floor jack under the designated point and pump it up at a slow, steady pace until it reaches the desired height.
Once the vehicle is raised up to where you need it, make sure to place the jack stands in the appropriate spots to ensure your safety. When you finish with all your work under the vehicle and it’s time to wrap up, just do everything in reverse. First remove the jack stands, then lower the vehicle with the hydraulic jack until it’s back on the ground, remove the wheel chocks and you’re ready to roll. If you have any questions, feel free to get in touch with us right here at LiftedJeeps.com!


